Jelly Roll Rugs are handmade creations made from colorful fabric strips, offering a charming and eco-friendly way to add personality to any room․
Perfect for DIY enthusiasts, these rugs combine creativity with functionality, making them a delightful addition to homes and a fun sewing project for crafters of all skill levels․
What is a Jelly Roll Rug?
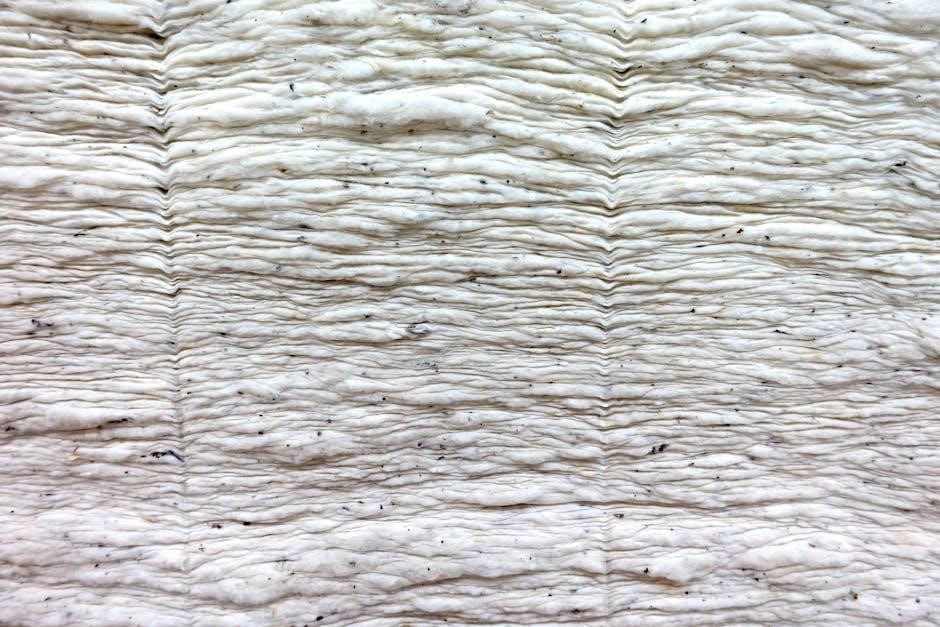
A Jelly Roll Rug is a handmade rug crafted from pre-cut fabric strips, known as a Jelly Roll, which typically contains 40-42 strips of 2․5″ wide fabric․ These rugs are sewn together in a spiral or strip design, often with batting for thickness and comfort․ They offer a charming, eco-friendly way to add color and personality to any room․ Popular in quilting, Jelly Roll Rugs are a fun DIY project that combines creativity with functionality, making them a delightful addition to homes․
Materials Needed for a Simple Jelly Roll Rug
A Jelly Roll (40-42 fabric strips), batting, coordinating thread, denim needles, fusible fleece, and a steam iron are essential for creating a Jelly Roll Rug․
Essential Supplies
A Jelly Roll, containing 40-42 fabric strips, is the core material․ Pair this with batting strips, coordinating thread, and a denim or heavy-duty needle for sewing․
A steam iron, rotary cutter, and measuring tools are also crucial․ Optional aids include fusible fleece for stability and Wonder Clips for secure sewing․
Optional Tools for Easier Crafting
Enhance your crafting experience with optional tools like Best Press starch for fabric stability and Wonder Clips for secure binding․ A cordless steam iron ensures crisp seams, while a rotary cutter and mat simplify fabric preparation․ These tools streamline the process, making it more efficient and enjoyable, especially for intricate designs or larger rugs․ They allow for professional finishes and reduce wrinkles, ensuring your Jelly Roll Rug turns out polished and durable․ Explore these aids to elevate your project’s quality and ease․
A Step-by-Step Guide to Making a Jelly Roll Rug
Transform fabric strips into a vibrant rug with a simple, step-by-step approach․ Start by sewing strips together, then add batting for thickness and finish with binding edges․
Preparing Your Fabric Strips
Start by cutting your fabric strips to the desired width, typically 2․5 inches․ Use a rotary cutter and mat for precise, uniform strips․ If using a jelly roll, you can work directly with the pre-cut strips․ Ensure all strips are consistent in width for a professional finish․ Organize the strips by color or pattern to maintain a cohesive look․ Trim any selvage edges and press the strips lightly to remove wrinkles before sewing․ This step ensures your rug will lie flat and sew smoothly․
Sewing the Strips Together
Begin by sewing the fabric strips together in a continuous loop, aligning the edges carefully․ Use a 1/4-inch seam allowance and press the seams flat as you go․ Start with two strips, right sides together, and sew along the length․ Add each subsequent strip in the same manner, ensuring the pattern flows smoothly․ Backstitch at the beginning and end of each seam for durability․ Press the entire strip after every few additions to maintain a flat, even surface for easy handling․
Adding Batting for Thickness
Cut batting strips to match your fabric strips, typically 2-1/2 inches wide․ Precut batting rolls are convenient, but you can also cut strips from yardage․ Layer the batting between two fabric strips, ensuring alignment․ Sew along the edge, maintaining a consistent seam allowance․ This step adds thickness and stability, preventing the rug from curling․ Use coordinating thread to blend with the fabric colors․ Properly securing the batting ensures a professional finish and long-lasting durability for your Jelly Roll Rug․
Binding the Edges
Binding the edges of your Jelly Roll Rug ensures a polished finish and prevents fraying․ Cut a coordinating fabric strip for binding, approximately 2-1/2 inches wide․ Sew the binding over the raw edges, folding it under as you go for a seamless look; Use a denim needle and coordinating thread for durability․ Optional tools like Wonder Clips can help secure the binding in place․ Press the binding firmly to create a crisp fold, ensuring it lies flat for a professional appearance․ This step completes your rug, giving it a clean, finished edge․
Useful Tips and Tricks
Useful tips for a Jelly Roll Rug include pressing seams for a professional finish, using starch for stability, and choosing the right needle for durability․
Pressing for Professional Finish
Pressing is a crucial step in creating a professional-looking Jelly Roll Rug․ Use a steam iron to flatten seams and ensure a smooth surface․ This step helps the rug lay flat and prevents wrinkles․ Optional products like Best Press Starch can add stability and crispness to the fabric․ Proper pressing enhances the rug’s appearance, making it look polished and well-crafted․ It’s a simple yet essential technique for achieving a high-quality finish in your DIY project․
Using Starch for Stability
Using starch adds stability and crispness to your Jelly Roll Rug, helping fabric strips hold their shape․ Apply starch to batting or fabric strips before sewing for a firmer texture․ This step prevents stretching and ensures a neat, professional finish․ Many crafters recommend Best Press Starch for its effectiveness․ Lightly spray and iron as directed for optimal results․ Starch enhances durability and maintains the rug’s structure, making it ideal for high-traffic areas while keeping it looking fresh and well-made․
Choosing the Right Needle
For a Jelly Roll Rug, selecting the right needle is crucial for smooth sewing․ A denim needle (size 16/100) is ideal due to its strength and ability to handle thick fabric layers․ This needle type is recommended in many free patterns, such as the Roma Quilts pattern, to ensure clean stitches and prevent thread breakage․ Using a heavy-duty needle ensures durability and a professional finish, making it easier to sew through multiple fabric and batting strips effortlessly․
Where to Find Free Jelly Roll Rug Patterns
Discover free Jelly Roll Rug patterns on popular websites like SewCanShe․com and Create Whimsy․ Roma Quilts offers a downloadable PDF pattern, while curated lists provide numerous options for crafters seeking inspiration and easy-to-follow guides․
Popular Websites and Designers
Popular websites like SewCanShe․com and Create Whimsy offer free Jelly Roll Rug patterns and tutorials․ Designers such as Lynn Woll from Create Whimsy provide detailed guides, while Roma Quilts offers a downloadable PDF pattern․ Many crafters also share their designs on blogs, offering inspiration and step-by-step instructions․ These resources make it easy to find a pattern that suits your style and skill level, ensuring a fun and creative crafting experience․
Design Ideas and Inspiration
Jelly Roll Rugs offer endless design possibilities, from vibrant color combinations to unique shapes like oval or round․ Inspired by antique rugs, these creations add charm to any space, blending creativity with functionality for a personalized touch․
Different Shapes and Sizes
Jelly Roll Rugs can be crafted in various shapes, including oval, round, and rectangular, offering versatility for different spaces․ Sizes range from small 17×33-inch rugs to large 42×60-inch designs, with options for oval placemats․ The pattern allows for easy customization, enabling crafters to create rugs that fit specific rooms or decor styles․ By adjusting the number of fabric strips, makers can achieve their desired size, making these rugs adaptable for any interior setting, from cozy hearths to spacious living areas․
Color Combinations and Themes
Jelly Roll Rugs offer endless possibilities for color combinations, allowing crafters to express their personal style․ From vibrant rainbow hues to subtle pastel tones, the pre-cut fabric strips in jelly rolls provide a coordinated palette for a cohesive look․ Themes like floral, seasonal, or modern designs can be achieved by selecting specific collections․ This versatility ensures the rug can complement any room’s decor, whether traditional, rustic, or contemporary, making it a unique and personalized home accessory․
Why Choose a Jelly Roll Rug Project?
A Jelly Roll Rug project offers a creative outlet, transforming fabric strips into a beautiful, functional piece․ It’s a rewarding DIY endeavor that combines practicality with personal expression․
Benefits of a DIY Project
Creating a Jelly Roll Rug is a rewarding DIY project that allows for personal expression and creativity․ It offers a sense of accomplishment, transforming fabric strips into a functional, colorful piece․ This eco-friendly craft upcycles materials, making it sustainable․ The process enhances sewing skills and provides a budget-friendly way to add charm to any room․ Perfect for crafters of all levels, it fosters creativity and offers a fulfilling handmade result․
Common Mistakes to Avoid
Common mistakes include incorrect batting measurements, misaligned fabric strips, and uneven pressing․ Ensure accurate yardage and proper strip alignment for a professional finish․ Always press thoroughly․
Mistakes to Watch Out For
Common errors include using incorrect batting measurements, misaligning fabric strips, and improper pressing․ Ensure accurate yardage and precise strip alignment for a polished finish․ Inadequate pressing can cause wrinkles and uneven edges․ Additionally, using the wrong needle size may lead to poor stitching quality․ Incorrectly cutting batting strips can result in uneven thickness․ Always double-check measurements and follow pattern instructions carefully to avoid these pitfalls and achieve a professional-looking rug․
Additional Resources and Next Steps
Explore video tutorials and crafting communities for support․ Check out free PDF patterns and step-by-step guides online․ Join sewing groups for inspiration and troubleshooting tips to enhance your jelly roll rug project․
Tutorials and Video Guides
Find detailed video tutorials and step-by-step guides online to help you master the jelly roll rug-making process․ Expert crafters like Lynn Woll from Create Whimsy share comprehensive instructions, covering everything from fabric selection to finishing touches․ Many tutorials include tips for correcting common mistakes and troubleshooting․ Some videos even offer corrections to pattern instructions, such as batting yardage adjustments․ These resources are perfect for both beginners and experienced crafters looking to refine their skills․ Downloadable guides and patterns are also available to complement your learning journey․
Crafting Communities for Support
Join vibrant crafting communities to connect with fellow enthusiasts and gain inspiration․ Websites like SewCanShe․com and creators like Lynn Woll from Create Whimsy offer tutorials, tips, and encouragement․ Many bloggers share personal experiences, such as using the Wild Rose collection for a stunning oval rug․ These communities provide a space to ask questions, share projects, and learn from others․ Participating in giveaways or challenges can also motivate you to try new patterns and techniques, fostering creativity and camaraderie among crafters․
Exploring Related Projects
Expand your creativity by exploring projects beyond Jelly Roll Rugs, such as quilts, placemats, or table runners․ Many patterns, like the “Slice Rug” or round quilts, use similar techniques․ These projects allow you to repurpose fabric strips and experiment with shapes and sizes․ For instance, a round Jelly Roll Quilt can serve as a decorative carpet, while smaller projects like coasters offer quick, fun alternatives․ These ideas inspire versatility and keep your crafting journey exciting and diverse․